In today’s digital landscape, your personal website is more than just a URL—it’s your digital handshake, your portfolio, and your brand story all rolled into one. Until recently, building a site that looked truly “premium”—with smooth parallax effects, cinematic transitions, and a bespoke feel—required either deep coding knowledge or a significant budget for a design agency.
But the game has changed. Google’s latest ecosystem of free AI tools has democratized high-end web design. At Media87, we’ve been exploring these workflows, and I’m excited to show you how anyone can now build a professional-grade personal website from scratch in a single afternoon.
The Vision: Cinematic, Not Template-Based
Most “drag-and-drop” builders feel like, well, templates. To stand out, you need motion and depth. Our goal is a site that feels alive—using subtle parallax, smooth transitions, and a handcrafted aesthetic.
Here is the step-by-step workflow to bring your personal brand to life.
Step 1: Establishing Your Visual Style (Google Whisk & Nano Banana)
Every great website starts with a vibe. We used Google Whisk and Nano Banana to generate our “bookend” frames—the images that define the beginning and end of the user experience.
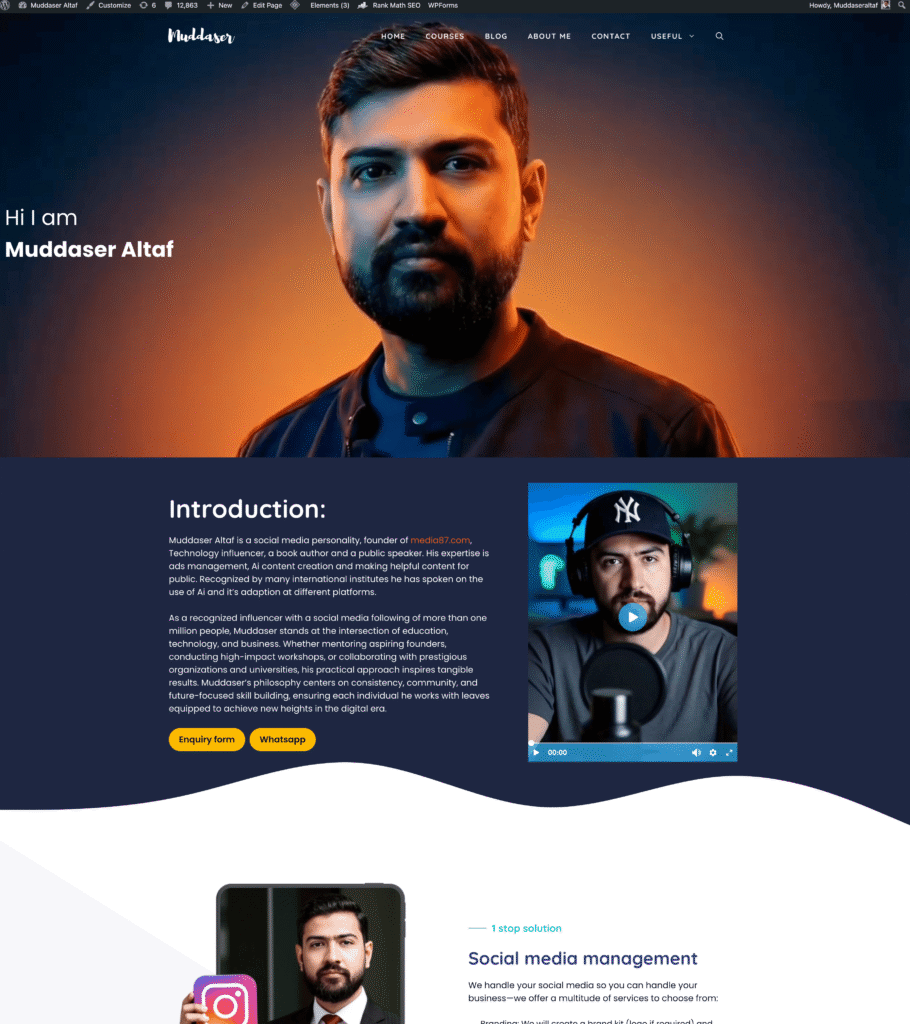
To get that “premium” look, we used a specific Image Generation Prompt:
Cinematic portrait with high-contrast dual-tone lighting, combining deep blues and fiery oranges. The mood feels dramatic, premium, and modern — like a movie poster or high-end branding website hero section.
Lighting & Color:
Key lighting: Strong overhead/front key light in warm orange/red tones.
Fill lighting: Cool blue gradient shadows on the opposite side of the face.
Color palette: Deep navy blue background fading into warm orange near the subject.
Contrast: Very high contrast, with sharp separation between warm + cool tones.
Subject Look:
Close-up portrait facing upward, looking upward, giving an inspiring, heroic vibe.
Low-angle camera perspective for a powerful, aspirational feeling.
Soft, subtle rim light around the edges to separate from background.
Composition:
Subject centered, but text area is intentionally left/right clear.
Smooth vignette effect around edges to focus attention on the face.
Clean fade between colors (no harsh transitions).
Texture & Finish:
Smooth, professional, glossy finish — similar to premium ad photography.
Subtle film-like grain for realism (optional).
Skin smoothness maintained but not overly retouched.
Background:
Gradient blend from dark blue at the top to warm orange/red at the bottom.
No distractions; fully blurred or minimal texture.
Mood / Branding Feel:
Bold, confident, modern.
Feels like a brand designer or creative professional’s hero banner.
Strong cinematic atmosphere with directional lighting.
By defining the lighting, color palette, and “Subject Look” (aspirational and heroic) early on, the AI ensures your entire site feels cohesive.
Step 2: Adding Motion with Google Flow (Veo 3.1)
Static images are fine, but motion captures attention. Using Google Flow (powered by the Veo 3.1 model), we took our starting frame and ending frame and asked the AI to “fill in the blanks.”
By using a Transition Prompt (“A smooth cinematic 3D transition”), Google Flow generates a high-quality video transition that bridges your visual story. This becomes the “hero” moment of your website.
Step 3: Preparing for High Performance (EZGIF & Supabase)
A common mistake is embedding heavy video files that slow down a site. For a professional feel, we want the animation to be tied to the user’s scroll (parallax).
- Convert to WebP: We take our AI-generated video and use EZGIF to convert it into a WebP image sequence. This allows for high-quality motion that is lightweight for browsers.
- Hosting with Supabase: We upload these frames to a Supabase bucket. This gives our website a dedicated “storage room” to pull images from, ensuring the site remains lightning-fast.
Step 4: The Master Build (Firebase Studio)
This is where the magic happens. Instead of writing thousands of lines of code, we use Firebase Studio to assemble the site using a comprehensive Website Prompt.
The prompt tells the AI exactly how to structure the site:
- Theme: Dark mode only, with orange and black accents.
- Layout: A single-page parallax hero section followed by a grid-based layout for learning paths and projects.
- The “Secret Sauce”: We provide the AI with the URL to our Supabase image sequence.
The AI then generates a modern, responsive site that includes your “About” section, “Featured Projects,” and even an FAQ—all perfectly aligned with your visual brand.
Step 5: Launch and Ownership
One of the best parts of this workflow is that you aren’t locked into a specific platform. Within Firebase Studio, you can switch to the Code Editor, right-click your project files, and select “Zip & Download.”
You now own the code (typically a Next.js or React starter). You can host it on Firebase, Vercel, or your own server. Within 24 hours of connecting your custom domain, your professional AI-powered brand is live for the world to see.